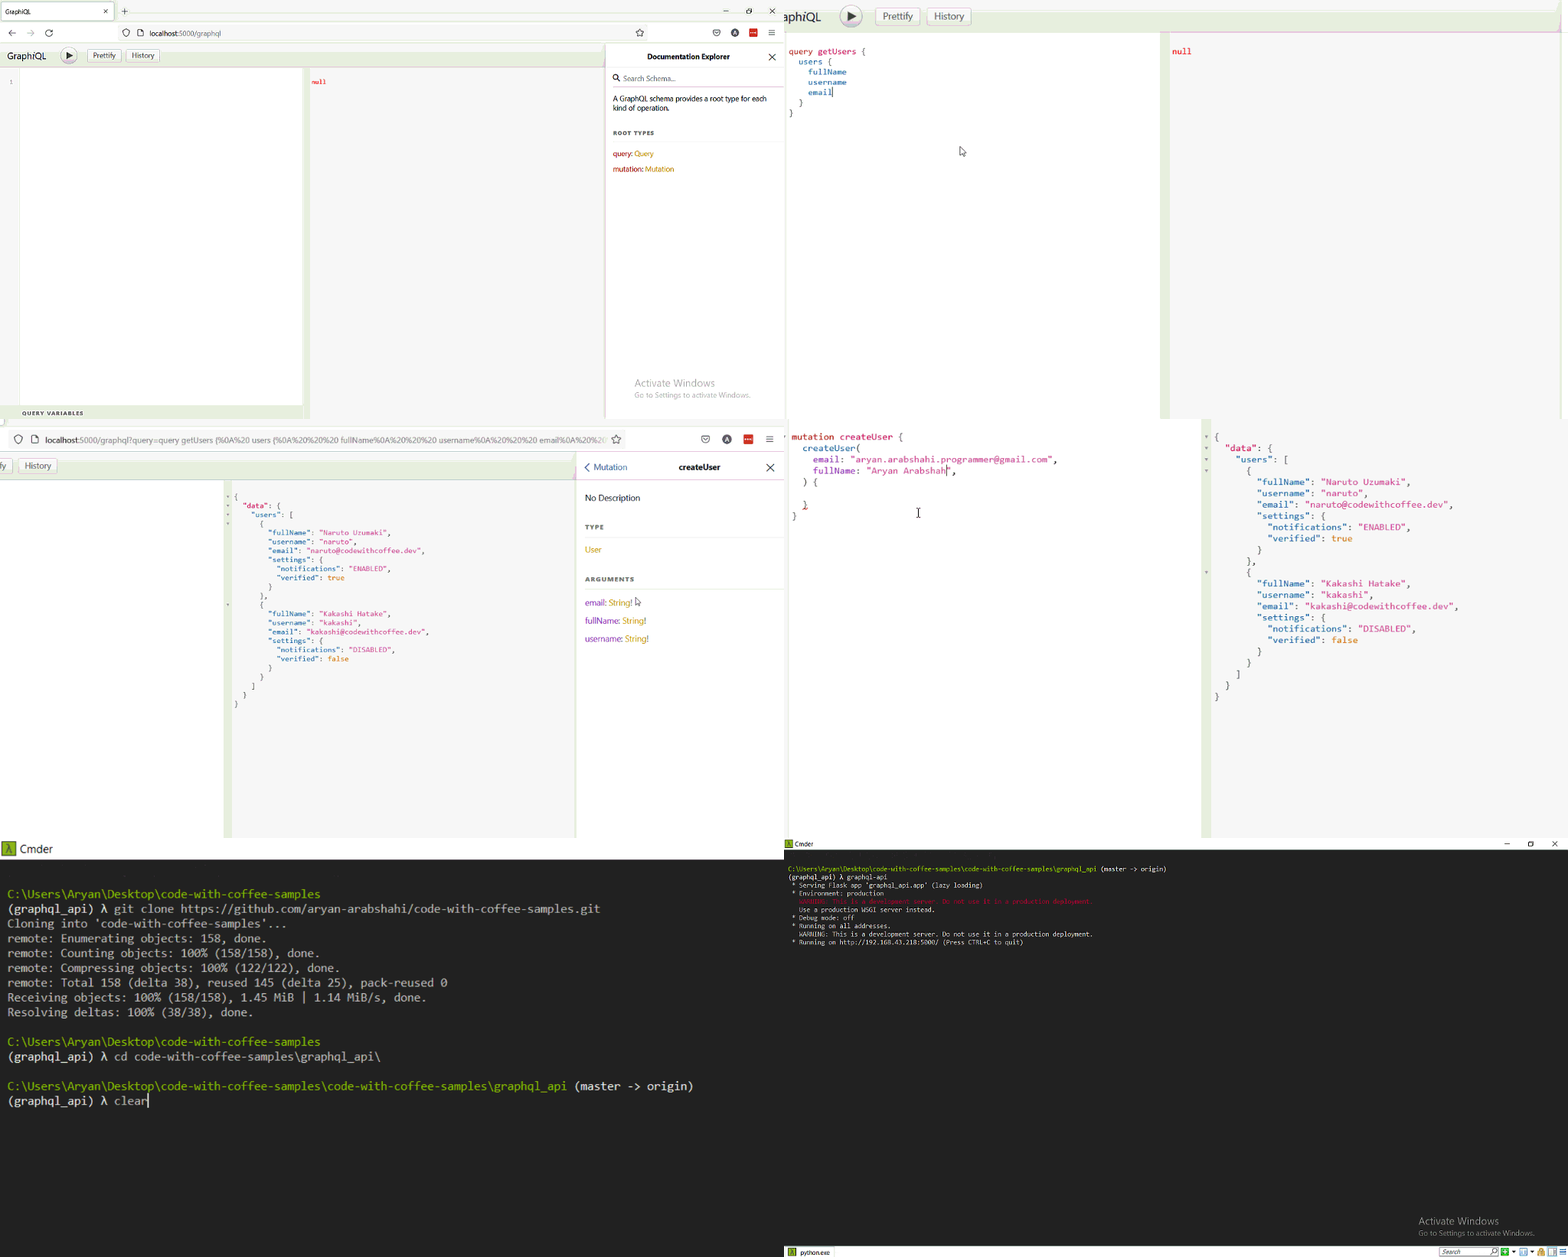
GraphQL is a query language for APIs. It provides a complete and understandable description of the data in your API and gives clients the power to ask for exactly what they need and nothing more. GraphQL queries access not just the properties of one resource but also smoothly follow references between them. While typical REST APIs require loading from multiple URLs, GraphQL APIs get all the data that your app needs in a single request. It has three simple steps:
- Describe your data
- Ask for what you want
- Get predictable results
In this post, we're going to create a simple GraphQL API in Python using Graphene and Flask. To do that, get the code from the repository:
git clone https://github.com/aryan-arabshahi/code-with-coffee-samples.git
cd ./code-with-coffee-samples/graphql_api
To run the application and see what it looks like run:
pip install .
graphql-api
Now, the API is accessible at:
http://localhost:5000/graphql
Let's check the project structure:
graphql_api
├── graphql_api
│   ├── app.py
│   ├── cli
│   │   ├── __init__.py
│   │   └── main.py
│   ├── datatypes.py
│   ├── __init__.py
│   ├── mutations.py
│   └── queries.py
├── README
├── requirements.txt
└── setup.py
The main code is at the “app.py” that is initiating the core of the application:
from flask import Flask
from flask_cors import CORS
from flask_graphql import GraphQLView
from graphene import Schema
from graphql_api.mutations import Mutation
from graphql_api.queries import Query


class GraphQLApp:

    def __init__(self):

        self._flask_app = Flask(__name__)

        CORS(self._flask_app)

        schema = Schema(query=Query, mutation=Mutation)

        self._flask_app.add_url_rule(
            '/graphql',
            view_func=GraphQLView.as_view(
                'graphql',
                schema=schema,
                graphiql=True
            )
        )

    def run(self) -> None:
        self._flask_app.run(host='0.0.0.0', port=5000)
There are two main classes to initiate the GraphQL API: Query and Mutation. Queries are data selectors, we use them whenever we want to get specific data. Mutations allow us to modify data with the specified inputs. In this sample, we defined a mutation to create a user and a query to get the users list (We used mock data without any databases just for learning purposes):
queries.py:
from graphene import ObjectType, Field, List
from graphql_api.datatypes import User, Settings, NotificationStatus


class Query(ObjectType):

    users = Field(List(User))

    def resolve_users(self, info):
        return [
            User(
                full_name='Naruto Uzumaki',
                username='naruto',
                email='naruto@codewithcoffee.dev',
                settings=Settings(notifications=NotificationStatus.ENABLED, verified=True)
            ),
            User(
                full_name='Kakashi Hatake',
                username='kakashi',
                email='kakashi@codewithcoffee.dev',
            ),
        ]
mutations.py:
from graphene import ObjectType, Mutation, String
from graphql_api.datatypes import User


class CreateUser(Mutation):

    Output = User

    class Arguments:
        full_name = String(required=True)
        username = String(required=True)
        email = String(required=True)

    def mutate(self, info, full_name: str, username: str, email: str) -> User:
        return User(
            full_name=full_name,
            username=username,
            email=email
        )


class Mutation(ObjectType):

    create_user = CreateUser.Field()
Also, There is “datatypes.py” which holds the data types:
from graphene import ObjectType, String, Field, Enum, Boolean


class NotificationStatus(Enum):
    ENABLED = 'enabled'
    DISABLED = 'disabled'


class Settings(ObjectType):
    notifications = Field(NotificationStatus, default_value=NotificationStatus.DISABLED)
    verified = Boolean(default_value=False)


class User(ObjectType):
    full_name = String()
    username = String()
    email = String()
    settings = Field(Settings, default_value=Settings())
It was a very basic of GraphQL and it has some other cool features that you must try. So, hold your cup of coffee up, cheers ;)
